Check that the oil return duct of the turbocharger is not partially or fully obstructed by carbon deposits. Also check its thorough sealing.
Check, when re-assembling, that no foreign item does enter the exhaust manifold nor the turbocharger.
Apply high temperature paste on the screws/nuts on the area of the exhaust manifold / turbocharger.

Disconnect the negative battery terminal.


Check that the mating surfaces are clean and free from foreign items.
Use new self-locking screws / locknuts E.
.
Place back the components in reverse order of the removal.
Start the engine and keep it it idle running.
Check there are no leaks.
You can find this information in our technical data software:
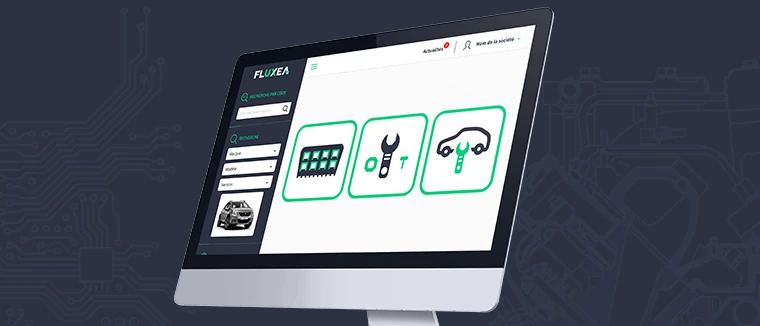
This is the full pack FLUXEA. . It solves most of the repairshops needs in maintenance, mechanics and diagnosis.
Price w/o VAT / month
95 €As 1140 € / year